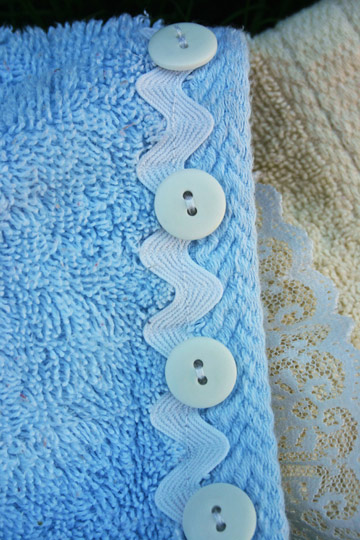
Two years ago, 90% of my adoption shower gifts were hooded bath towels. I ended up with 13 hooded bath towels. Do I not bath my children you ask? I worried if it was a subtle hint about my personal hygiene. Luckily, I soon found out the truth – Target had a fabulous bath hoodie sale (…and no, Target wouldn’t return any of the 13 hooded bath towels I received even though they were on my Target registry…but that is a completely other story and just another example of why I wish I had the power to boycott Target indefinitely – unfortunately, they have really cute stuff that keep me coming back despite my best wishes and their ridiculous return policy. I digress…back to hooded bath towels). Two of the hooded bath towels I received were homemade. And here is the honest truth, the store-bought bath towels lasted less than nine months (see I do bath my children). The homemade hooded bath towels are still going strong more than two years later. Not only are the homemade bath towels so much cuter (despite not having a duck beak or rabbit ears coming out of them), but they work better and last longer. Due to this, I decided to make a few more for each of my sweeties prior to the preschool year beginning. And here is some more honest truth, they are easy. I am considering this a Fussy Friday, simply because you have to pull out your sewing machine. Yet, the fact that I can make them testifies of their simplicity. I am not what you would call a whiz on my Singer.
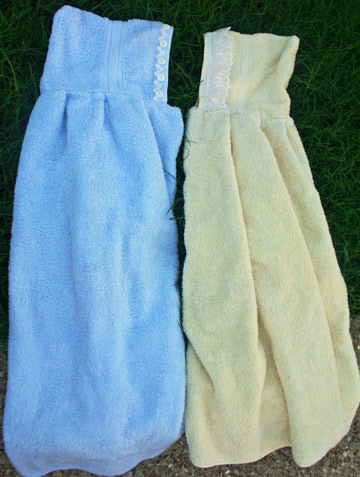
Here is how you make them:
(Instructions adapted from MormonChic.com See Crafty Chic’s tutorial here. You can also find well-detailed and helpful tutorials at Make And Takes, as well as Little Birdies Secrets. These ladies have adorable photos of their children in the hoodies. I tried to do the same, because I knew if you saw my children in them you would stop everything you were doing and make one… but the two and three year old didn’t seem to get the memo. Hence, “the bath hoodies in the grass” photos!)
What you need:
1 bath towel
1 wash cloth
approx. 3 yards of ribbon or embellishment of your choice
STEP BY STEP
1. Taking the wash cloth, fold it in half with the wrong side on the outside. Sew the top edges together.
2. Flip the seam you just sewed. Now you have the hood for your hooded towel.
3. Line up the hood with the bath towel and sew with the seam showing on the outside of the towel. You put the seam on the outside of the towel because you don’t want the rough seam on the back of baby’s neck. Also, since you cover this seam later with ribbon, it won’t be an eye sore.
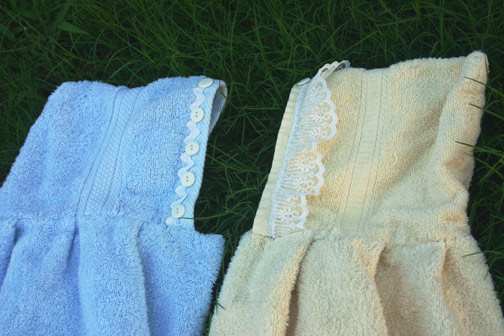
4. Time to attach the ribbon. Flip the hooded towel over to the outside. Cut the ribbon so that you have two strips that go over the sides of the towel and sew them on. Be sure to sew both edges of the ribbon and tuck the ends under so you will have a finished end and it won’t ravel.
5. Attach the next ribbon. Use the remainder ribbon and center it over the seam that attaches the hood to the towel. Sew down the middle of the ribbon. (This will cover that ugly seam and leave you a little tie to secure the hood on baby.)
Crafty Chic Tip: To make sure the ribbon doesn’t fray at the ends, use a match to melt the ends. Be sure not to hold the match too close!
6. Now you’re finished. Wrap it up for a gift or wrap your baby up in it for tonight’s bath. They’ll love it.
ADDITION: You can also find a very fabulous and useful tutorial on Skip to My Lou here!


