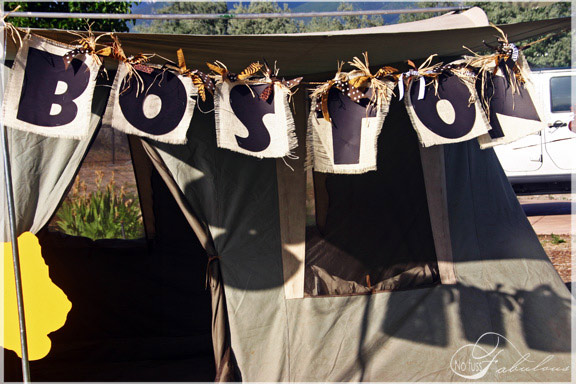
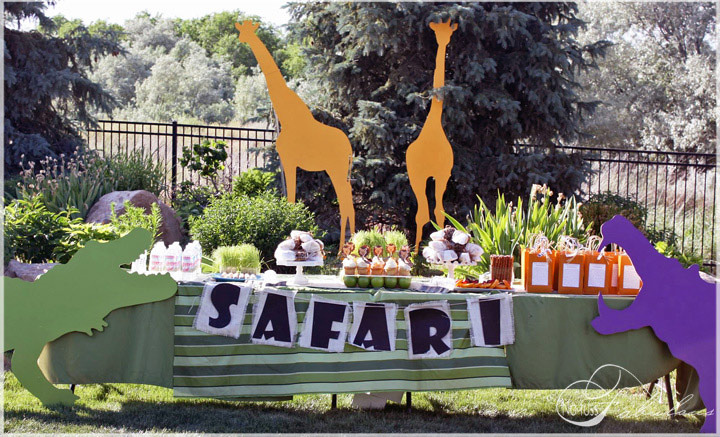
 This burlap banner is an easy way to add a little fresh detail to your celebration. It is simple and it’s not something you would necessarily see at a friend’s birthday. I did one for my sweet Boston’s safari party and today I am making one for my son Ethan’s Beach Party Birthday this Wednesday. I can’t wait to show you photos! I think these little banners are perfect for summer events. Although, I am excited to reuse this idea in a less rustic form for Halloween as well using orange burlap! So without further ado, here’s how to make one…
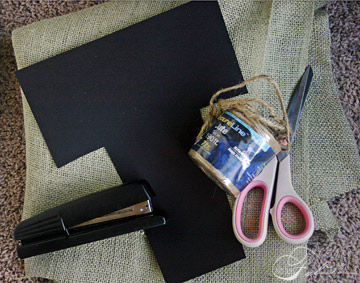
What you need:
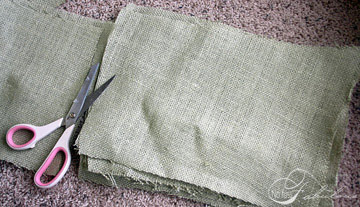
Burlap
Scissors
Twine or rope
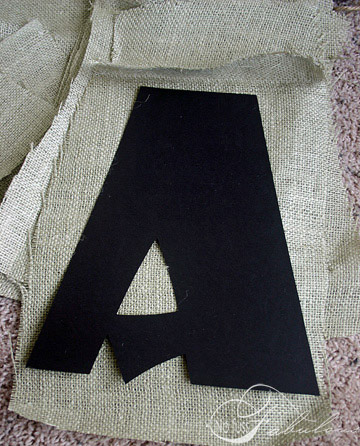
pre-Cut Letters
Stapler (or your choice of adhesive)
Black Sharpie
Cut your burlap into large squares.
They absolutely don’t need to be perfect matching squares.
This is for a party – not your wedding! Plus, a rustic feel is part of the cuteness factor here.
Place your letters onto your burlap. Being sure they are centered.
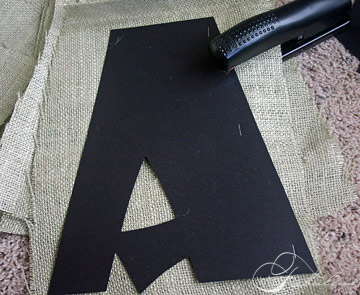
Staple away!
You could easily use fabric adhesive if you would rather. I chose a stapler simply because both of my children’s birthdays were outside and I was afraid of them falling off with the wind.
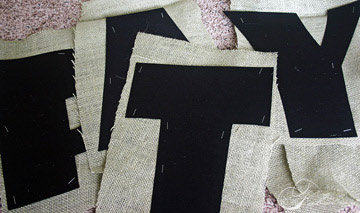
Once you are finished with all your letters, take a black Sharpie marker and go over each staple so they will not show!
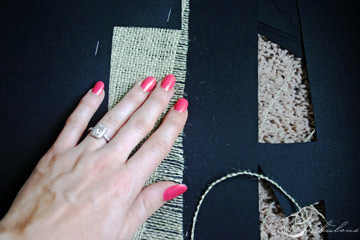
Fray the ends of each letter’s square.
You may want to keep a window open. Burlap has a distinct strong aroma when working with it.
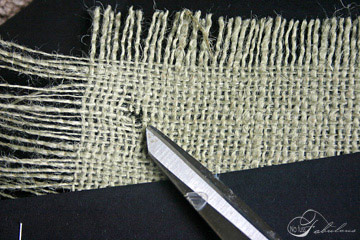 Cut a small sliver of a hole on the top two corners of each letter. Be sure not to cut too large of a hole. Or too near your fray.
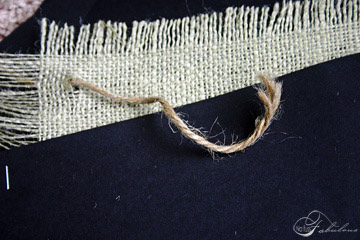 Lace your twine or rope through each of your letter sqaures.
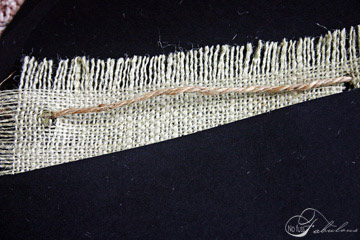
Display your fantastic banner at your event!
Accept all lavish compliments.
If someone asks you how you made it, be sure to make it sound complicated.
You can add ribbons if you like!
I’ve got to run now to finish Ethan’s banner for his beach party this Wednesday!
I’ll definitely post photos of the finished product…and party!

